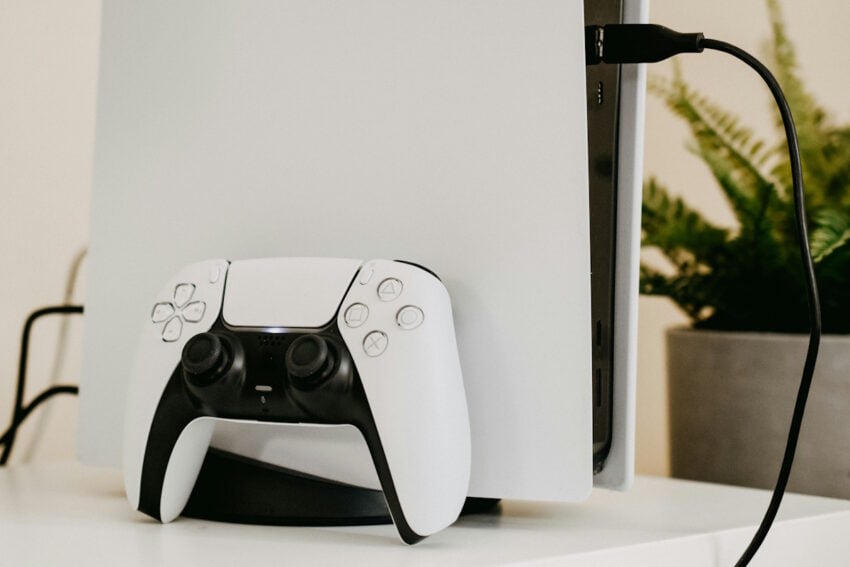
If you plan to buy a Sony PlayStation 5 console this year, you better hurry, as prices will go up on April 2, 2026.
Sony announced the price increase on the official blog after increasing the price in the United States in 2025 already. There, the company explains that “pressures in the global economic landscape” forced its hand. Without going into specifics, Sony is likely referring to the skyrocketing prices of RAM and storage due to the explosion of AI-focused services.
All PlayStation consoles and the PlayStation Portal handheld get a price increase. In the United States, prices of the console increase between $100 and $150, depending on the system.
Without further ado, here is an overview of the old and new price for each Sony PlayStation 5 console in all mentioned regions:
| Region | Product | Old Price | New Price | Price Increase |
| U.S. | PS5 | $549.99 | $649.99 | +$100.00 |
| PS5 Digital Edition | $499.99 | $599.99 | +$100.00 | |
| PS5 Pro | $749.99 | $899.99 | +$150.00 | |
| PlayStation Portal | $199.99 | $249.99 | +$50.00 | |
| U.K. | PS5 | £479.99 | £569.99 | +£90.00 |
| PS5 Digital Edition | £429.99 | £519.99 | +£90.00 | |
| PS5 Pro | £699.99 | £789.99 | +£90.00 | |
| PlayStation Portal | £199.99 | £219.99 | +£20.00 | |
| Europe | PS5 | €549.99 | €649.99 | +€100.00 |
| PS5 Digital Edition | €499.99 | €599.99 | +€100.00 | |
| PS5 Pro | €799.99 | €899.99 | +€100.00 | |
| PlayStation Portal | €219.99 | €249.99 | +€30.00 | |
| Japan | PS5 | ¥79,980 | ¥97,980 | +¥18,000 |
| PS5 Digital Edition | ¥72,980 | ¥89,980 | +¥17,000 | |
| PS5 Pro | ¥119,980 | ¥137,980 | +¥18,000 | |
| PlayStation Portal | ¥34,980 | ¥39,980 | +¥5,000 |
Sony suggests that customers should check pricing with local retailers or the PlayStation website, if they live in a region not mentioned explicitly.
This console generation is the first in gaming history where console prices have trended upward. Nintendo (Switch 1) and Microsoft have also raised prices, and there is a good chance that both companies may announce another round of price increases this year.
Historically, components used in consoles got cheaper as the years progressed. This allowed companies to reduce prices or introduce new models at lower price points.
However, this generation is facing unprecedented global economic factors. Besides the boom around AI, which drives RAM and components to higher price points, companies face inflation, tariffs, and conflicts around the world.
So what should gamers do? There are a couple of options:
- Stick to the last generation of consoles or even older ones. They are cheaper and have a huge catalog of -often- cheaper games to play.
- Consider PC gaming. While PCs are also affected by the rising prices of components, they offer more flexibility. You could consider a PC gaming handheld or upgrade an existing PC with a better video card or processor for more gaming power.
- Sit it out. Things may calm down again in the coming years. AI is still a wildcard, and a crash might cause components to drop in price sharply. Also, the second-hand market may be flooded with cheap RAM and other components in that case.